
Explore Techsign DOC
How To Use?
 Click to watch our how to use video
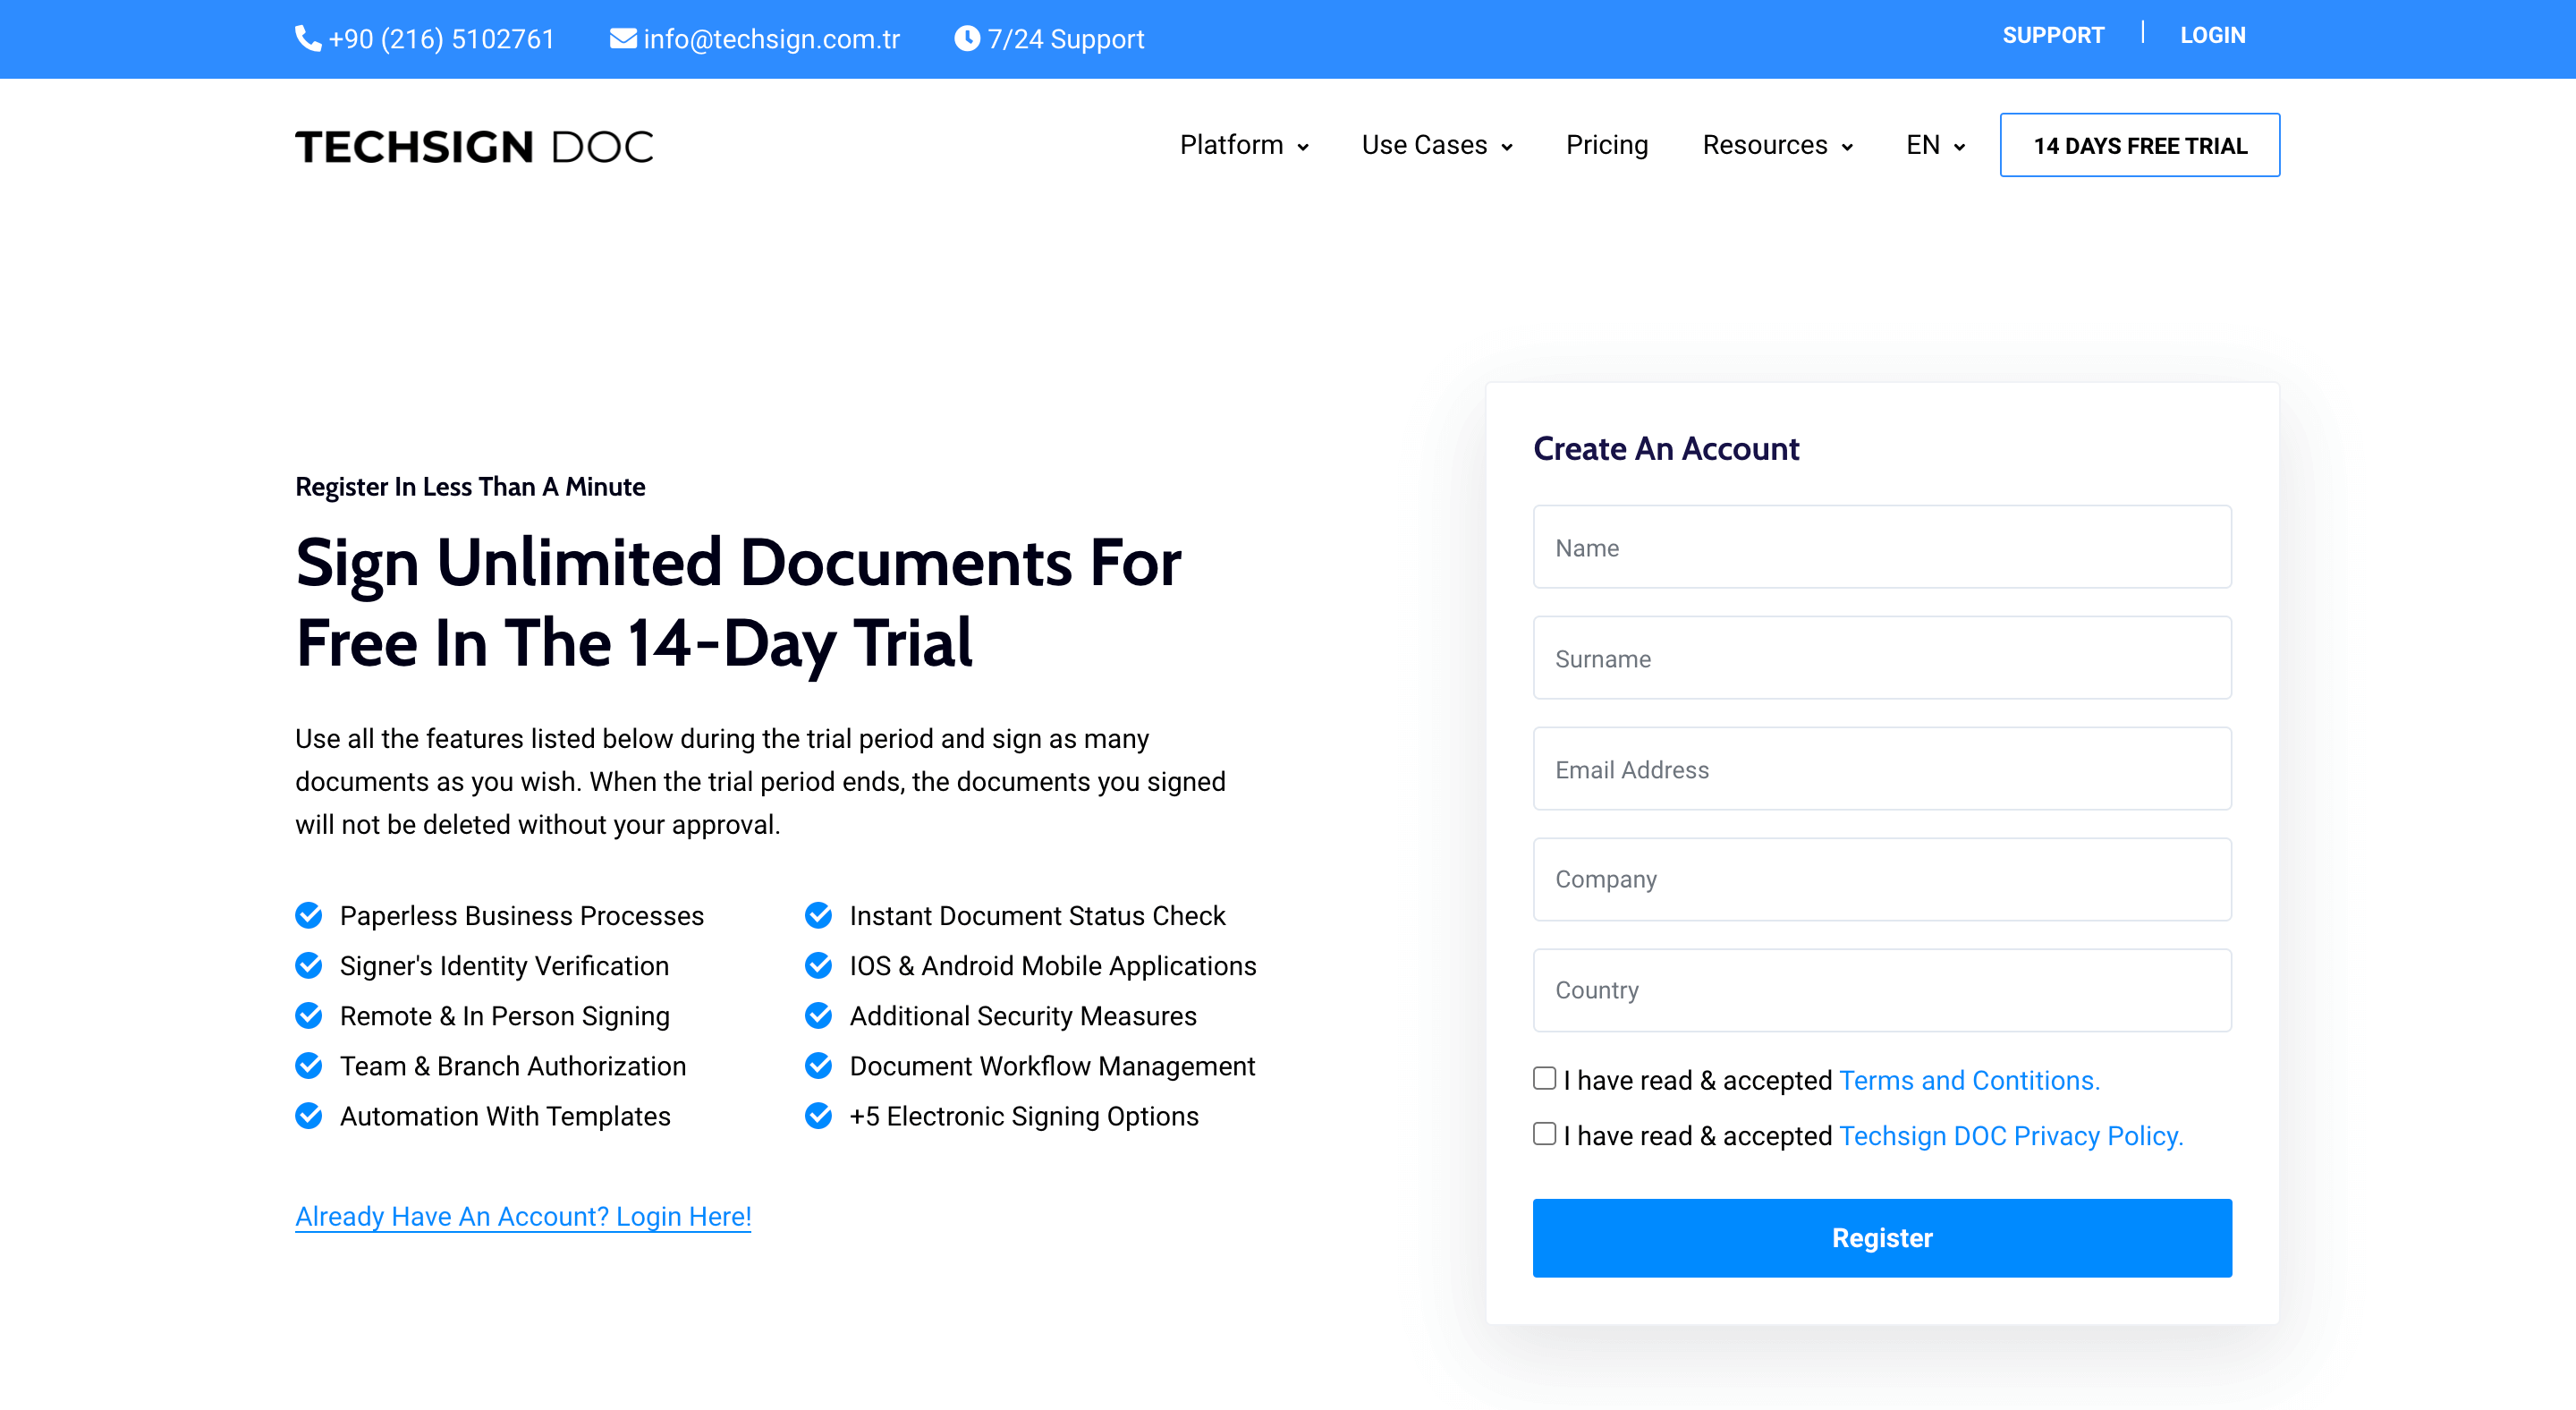
1. Click on the "14 Days Free Trial" button in the upper right. Fill in the form and accept the specifications & Terms Of Use.

2. Click on the "Activate" button in the activation mail sent to your e-mail address. Create your password. Use it free for 14 days.

1. After logging into the platform, click on the "Create New" button on the upper left of the Home page.

2. You can upload the contract you want to create from your computer; you can choose from the template you created or upload from other cloud platforms. Enter the signers and people who can follow the document as CC. You can create a receiver-based password for additional security; You can send SMS OTP password by entering phone numbers or request additional documents (Selfie, signature circular, identity photo etc.)

3. Enter the signers and people who can follow the document as CC. You can create a receiver-based password for additional security; You can send SMS OTP password by entering phone numbers or request additional documents (Selfie, signature circular, identity photo etc.)

4. Place the components on the document and prepare the document. At this stage, you can save the document you made changes as a template.


5. Finally, if you wish, you can give the document a new name and set a deadline for signing.
Access Through the Platform


1. The document received for signature is listed on the "Home" and "My Contract" page.

2. The document stream is displayed on the left side of the Signing tab. Colored areas on the document are the sections assigned to the person who will sign. Fill in these fields by clicking on them. Fields with a star in the upper left corner are mandatory.


3. You are expected to sign in accordance with the type of signing requested. When the process is completed, you can complete the signing process by pressing the "Continue" button.
Signing With Biometric Signature
1. The document signing flow can take place from the tablet and phone for two reasons: Optional and mandatory if a biometric signature that requires a touchscreen is requested.
2. If the sender asks the recipient to sign a biometric signature, the signature must be sent via a touchscreen device. If the device on which the document is opened does not have a touch screen, it directs the receiver to the phone or tablet with touchscreen feature.


3. Please read the code on the screen on your IOS and Android phone or tablet.

4. Open the contract in your internet browser. Click the "Continue" button on this screen showing the contract information.

5. Touch the colored area to sign.

6. Rotate the screen to proceed.


7. Fill out all the required fields and click the "Continue" arrow at the top right.

8. Document signed! You can download the contract right here or you can access all the contracts you signed free of charge by logging into the DOC platform.

1. After logging into the platform, click on the "Workflow" tab in the left menu. You can view your existing templates on this screen. Click the "Create" button on the top right to create a new template.

2. Upload the document you want to create a template by selecting it from your computer or by uploading it directly from the cloud storage platforms you use.

3. Make the changes you want on the document and proceed by pressing the "Save" button in the upper right.

4. Give the template a name (optional) and save it.

1. Click on the "Workflow" tab in the left menu. On the page that opens, all the contracts in circulation are displayed on the left. You can make a fast jump to the days with the calendar at the top right.

2. Clicking on the document opens the detail window. The entire journey of the document from its creation is shown here.

1. Click the "Analytical and Statistical" button from the left menu. Access many data such as total number of signed documents, weekly productivity performance, signing status of circulating documents.